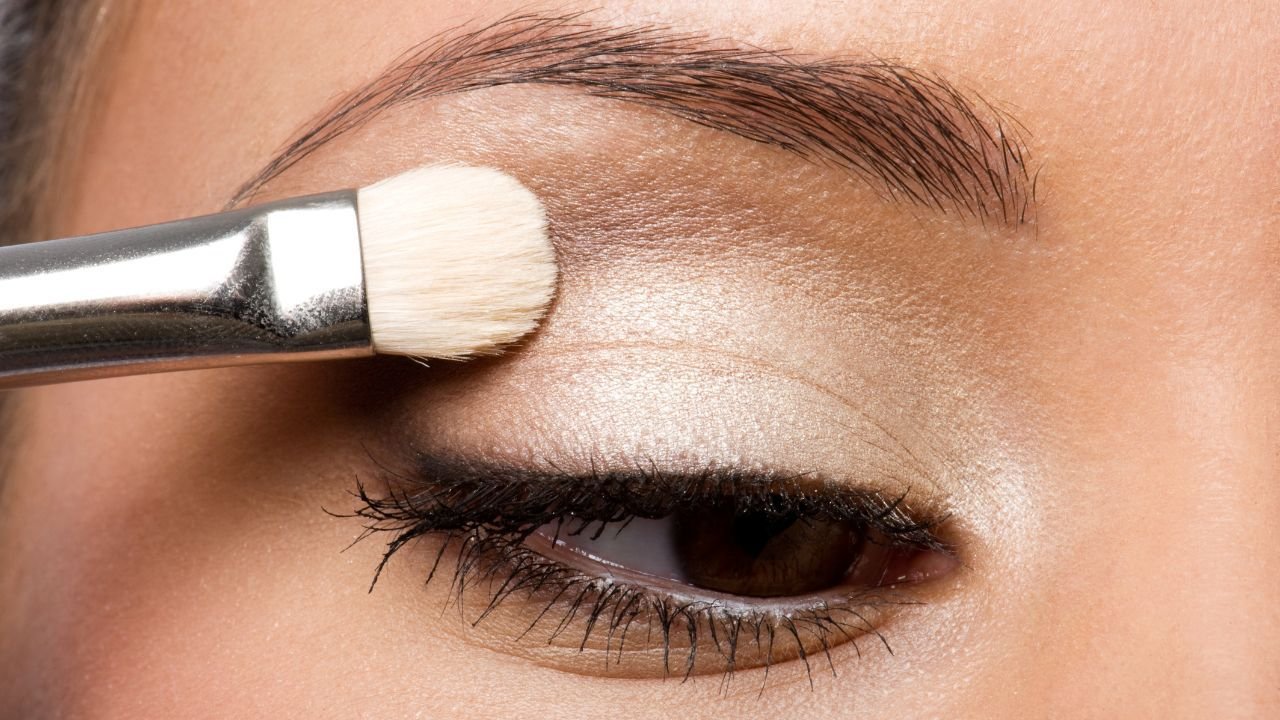
A step by step guide on eyeshadow application like a pro
- The eyeshadow tool kit.
At the onset, you’ll need a good set of makeup brushes. Choose an eyeshadow you’ve been waiting to try out and get your hands on a good primer. Your favourite mascara and eyeliner and you’re good to go! Remember to get as creative as you fancy yourself to be. Break any and every rule in the book and push your creative boundaries! You want to use your fingertips, go right ahead and do that. Toss those brushes and work your fingers.
Application of the eyeshadow?
Down to business—a step by step guide on applying the eyeshadow
- Make sure your skin and makeup brushes, fingertips, if you will, are clean.
- Those lids need to be prepped with sweeping strokes of the primer first, as it helps the eye shadow stay put and appear highly pigmented. If you want to avoid the primer, use cream blushes, cream eyeshadows and bright eye pencils as your base. This lends matte eyeshadows a boost in colour and enables the shimmery ones to shine and last longer.
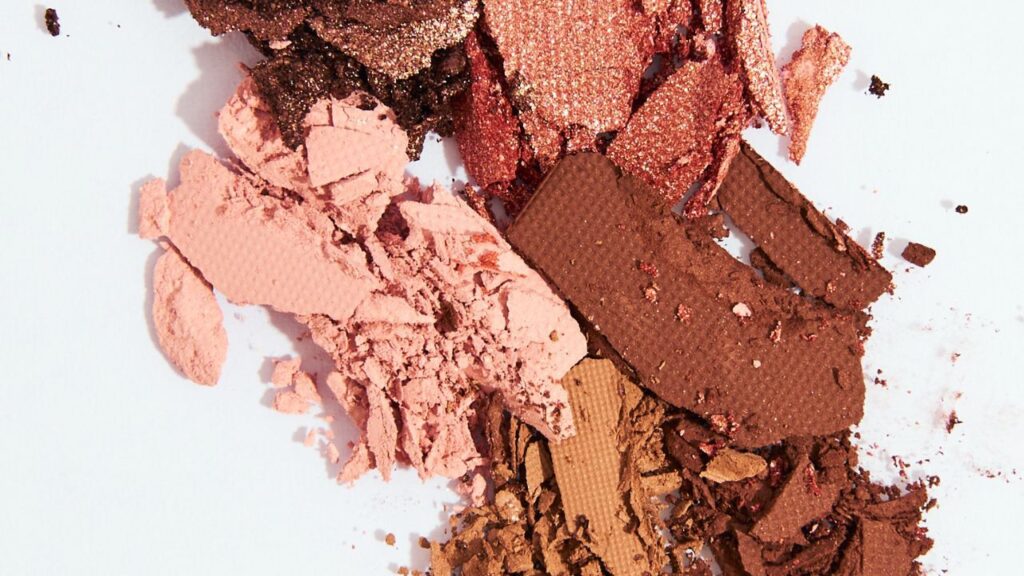
3)It is time to construct your base now that the priming is done. Go for a palette with complimentary colours- it’s great for beginners! You have the matte shades as well as the shimmery ones that are easy to understand and use and the best part, these shades complement all skin tones.
Follow these steps to apply eyeshadow like a pro
Keep in mind the four all-purpose shades you will use to shape the flawless beginner eyeshadow look: a neutral colour as your base, a medium shade in your crease to add depth, a darker colour for the outer corner of the eye, and a shimmer shade or lighter colour to highlight beneath your brow and for the inner eye to open it up
4)Begin with the neutral colour and apply it all over your eyelid. Now, to define the crease on the lid, use a colour that complements the base, a dark brown to a light brown.
5) Moving to the outer corners of your eyes, apply a colour darker in shade than what was used on the crease. Create a V-shape from your lash line to the external portion of your eye crease. Start with just a dash of the product and then gently work your way up.Be careful not to over apply the product .
What tools will I require to work with eyeshadow?
6)Complete what you’ve started with a highlight. Perhaps a shimmery colour here will do the trick. Start applying under the brow bone and towards the inner eye and marvel at how your eyes will pop!
7) Time to blend it all. At the moment, it seems like your eyeshadow is a medley of four colours but that’s not what we want it to look like. Spend some time blending all these colours in so everything merges into one coherent look with no sarp lines jutting out!
8)The eye shadow’s done and now reaches for your eyeliner. Draw it out as you wish, winged or not, depending on what you’re in the mood for.
9) Finally garnish this entire look with a few strokes of your mascara and you’re ready to bat those eyelids and break a few hearts, we say!
Makeup classes bangalore
Makeup courses bangalore
Makeup training bangalore
makeup artist course bangalore
Makeup artist training course in bangalore
Makeup course fee bangalore
Makeup school bangalore
Makeup education bangalore
Makeup academy bangalore
Makeup institute bangalore
Makeup classes bangalore
Makeup class bangalore
Makeup and hair academy bangalore
Makeup and hair school bangalore
Makeup and hairstyling academy bangalore
Makeup and hairstyling classes bangalore
Hairstyling course bangalore
Hairstyling classes in bangalore
Hairstyling bangalore
Hairstyling courses bangalore
Makeup classes india
Makeup courses india


